How to Maintain and Repair Gypsum Board Access Panels
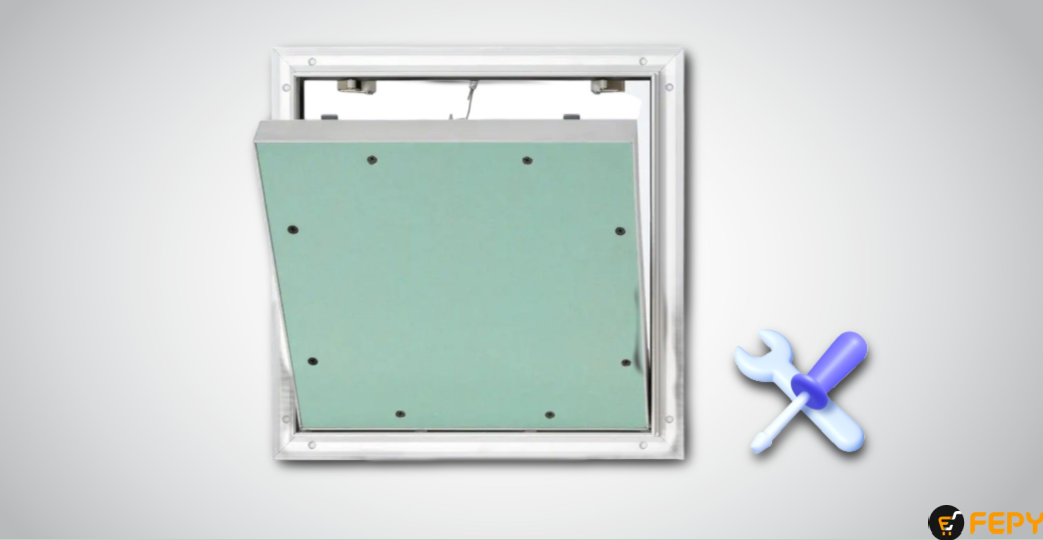
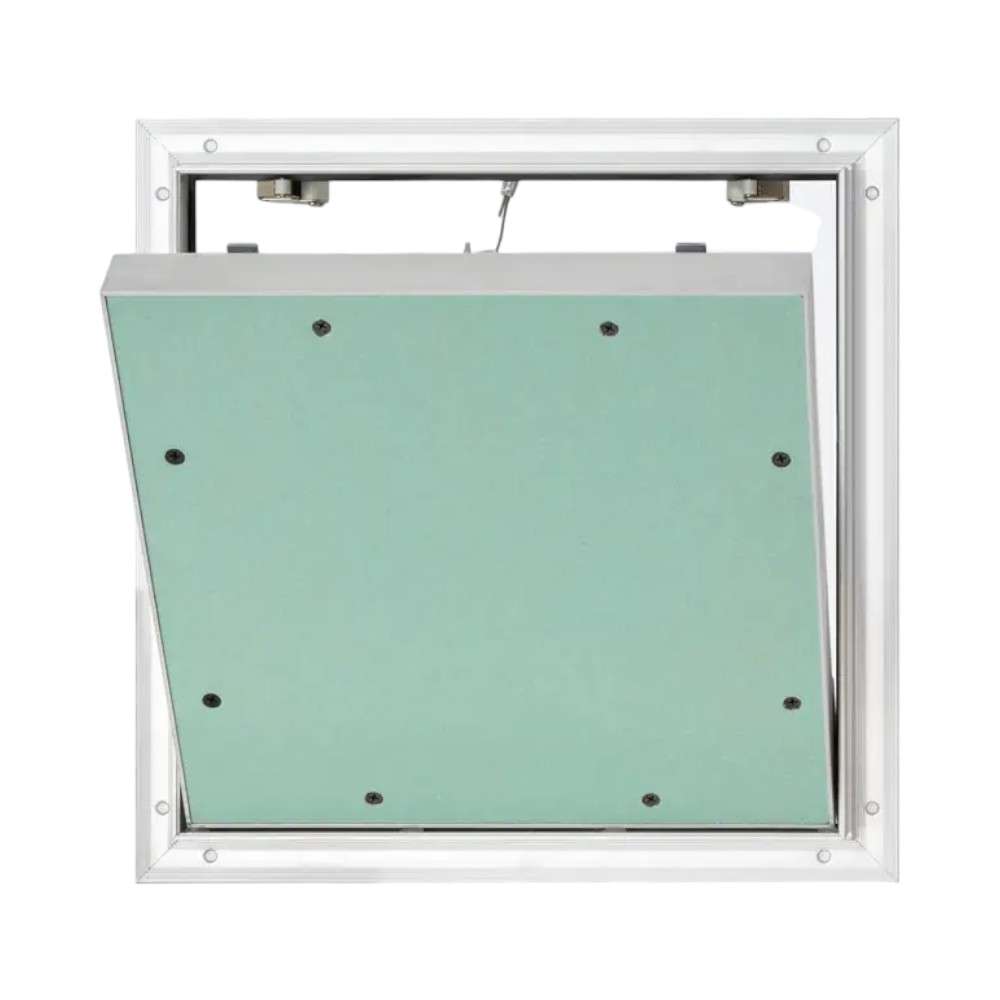
Gypsum board access panels are a lifesaver in UAE construction, providing easy access to hidden pipes, wires, and other necessities. But like any other materials, they need care and love to stay functional and attractive. The good news is keeping them in tip-top shape is easy. Let's dive into eight easy-to-follow tips to ensure your access panels stay clean, damage-free, and fresh.
8 Tips to Maintain and Repair Gypsum Board Access Panels
There are some effective tips used by professionals to maintain and repair Gypsum Board Access Panels. We have collected the top 8 tips for you. Let’s check them out:
1. Regular Cleaning
Dust bunnies love access panels – a little too much! Built-up dust not only makes them look dingy, but it can also cause unsightly black stains to appear on your pristine walls and ceilings.
Here's how to keep those dust bunnies at bay:
- Prevention is Key: Regularly cleaning your access panels is key to preventing stains. Think of it like dusting your furniture – quick and easy!
- Dry Dusters are Your Friend: Skip the wet clothes and harsh chemicals. A simple dry cloth or long duster is all you need to whisk away dust and dirt.
- Target those Crevices: After dusting loose particles, use your dry cloth to wipe down the entire panel, paying close attention to nooks and crannies where dust loves to hide.
- Clean Like a Pro: For areas with heavy dust or foot traffic, consider cleaning your access panels more frequently.
- Breathe Easy: Open a window or two whenever you clean to prevent dust from settling elsewhere.
- Skip the Harsh Stuff: Avoid harsh chemicals or cleaning products, as they can damage the panel material or cause discolouration.
- Quick Cleaning Routine: Aim to clean your access panels at least once every two weeks for optimal results.
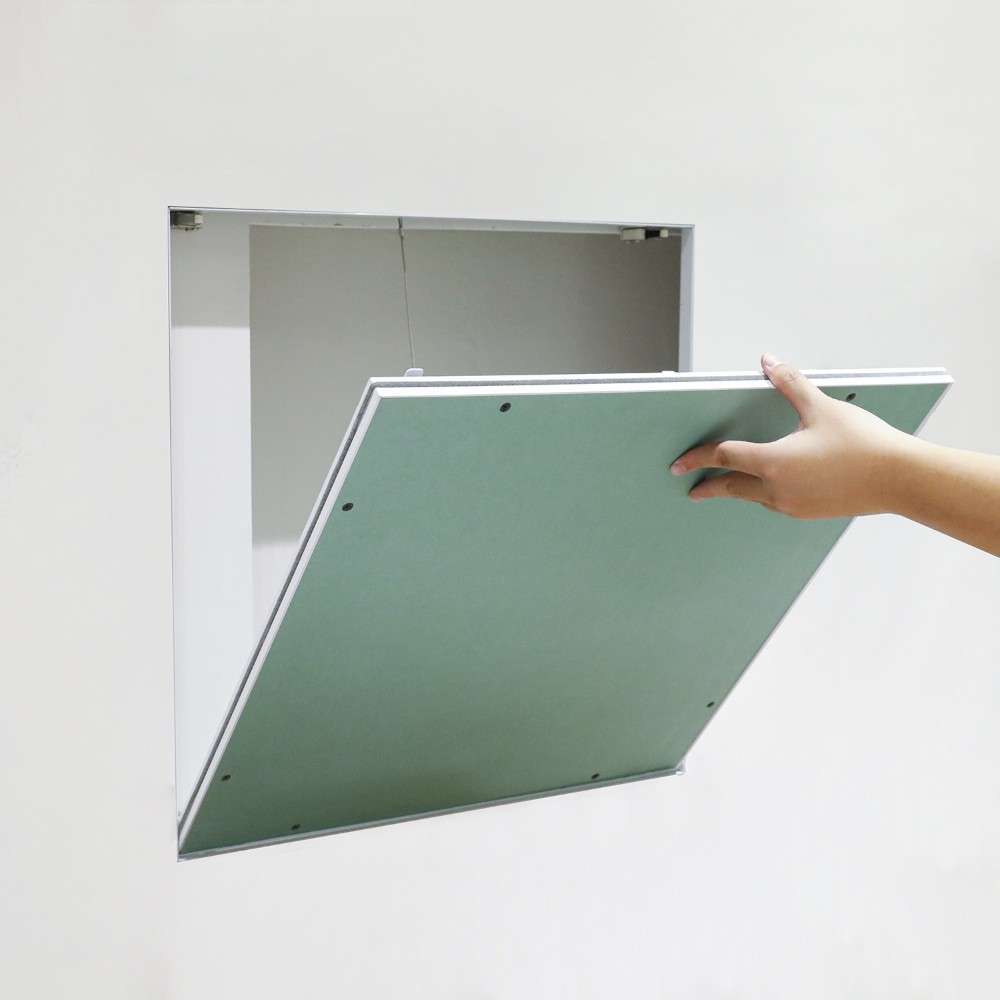
2. Check for Leaks
Watching for leaks keeps your access panels and home safe. In the UAE, leaks during heavy rains spell trouble for your gypsum board if ignored. You can locate leaks like this:
- Identifying Leaky Culprits: Look for leaks sneaking through cracks, holes, or broken roof shingles. Poor setup or severe weather might cause these leaks.
- The Wall Inspector Role: Take a flashlight and regularly check your walls and ceilings. Spot water stains, bent drywall, paint bubbles, or mould growth - signs of lurking leaks.
- Act Fast as Leaks Don't Rest: Getting rid of leaks quickly is best. Here are some effective tips:
- Locate the leak. Use buckets or tarps to control the water and reduce further hurt.
- Use fans, dehumidifiers, or open windows to dry out the area.
- Call a professional roofer to fix the leak at its source.
- Disinfect the area to stop mould growth.
Prevention is Vital: Dealing with leaks is a hassle. Here's how to avoid them:
- Regularly organise roof inspections. As you know, a stitch in time saves nine (and your cash).
- Maintain clean gutters and flashing. Fix broken shingles fast. When getting a new roof, pick materials that withstand harsh weather.
3. Use Moisture-Resistant Gypsum Board
Not all gypsum boards are created equal, especially regarding the humid UAE climate. For bathrooms and kitchens where water is a daily visitor, using moisture-resistant gypsum board (also known as "green board") is a must. Here's why this board is your champion against water woes:
- Regular Board vs. Green Board: Standard drywall has a gypsum core that absorbs moisture like a sponge, turning soft and crumbly. On the other hand, Moisture-resistant boards boast a special core and water-resistant facings that team up to repel moisture, making them perfect for high-humidity areas.
- Say No to Mould and Mildew: Damp environments are breeding grounds for mould and mildew, posing health risks and damaging your access panels. Moisture-resistant boards help prevent this unwelcome growth by keeping things dry.
- Built to Last: Regular drywall exposed to water? It's not a pretty sight. Moisture-resistant boards, however, can handle splashes and spills much better, keeping your access panels looking good and functioning properly for years to come. It translates to less hassle and saves money on repairs and replacements.
- Building Code Compliant: In the UAE, building codes often mandate moisture-resistant boards in bathrooms and kitchens. Using the right board ensures you comply with regulations and get those necessary permits without a hitch.
4. Repair Minor Damage
Accidents occur, and your access panels might show it. The good news is that a drywall patch kit is perfect for small scratches and holes. Here's how to become a patching pro:
- Cleaning: Clean the damaged area with a vacuum or a moist cloth. You need a clean surface for a remarkable repair. Measure the damaged space, and cut a similar-sized patch from your kit.
- Patching: Add a light coat of jointing compound to the patch's back and press it gently into the hole. Make sure it's flat and centred.
- Operating: With a putty knife, apply a light layer of jointing compound over the patch. Feather out the edges to blend with the wall.
- Sanding: Let the compound dry completely. Use a sanding block or sandpaper to smoothen the area. Start with a coarse grit and gradually go finer for a polished look.
- Layering: Sometimes, additional layers of jointing compound are required. Let each layer dry before sanding again for a beautiful look.
- Painting: Once everything is smooth, it's painting time! Use paint that matches the colour of your wall to conceal the repair.
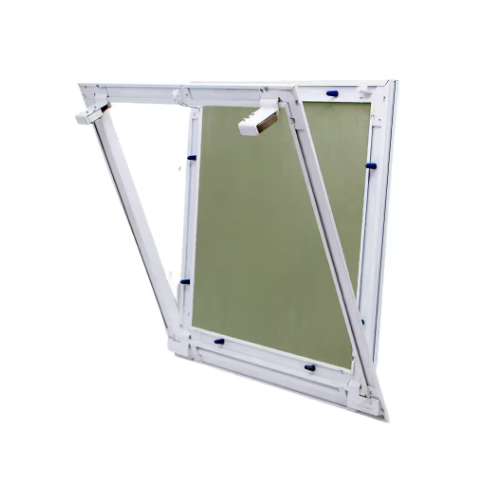
Preventive measures:
- Use a specific patch kit for gypsum board access panels.
- Centre your patch for a professional appearance.
- Apply thin compound layers and allow full drying before sanding. Sand softly to prevent scratches.
- Extra compound layers are okay but avoid an overly thick patch.
- Use matching wall paint for a perfect blend.
5. Repair Deep Holes
Small fixes are easy, but what about bigger holes? Don't worry; even deep gashes in your access panels can be conquered! Here's your step-by-step guide to becoming a deep-hole-repairing pro:
- Cleanup: Slash a smooth border around the hole with a utility blade or wallboard saw. It readies the spot for your patch.
- Size the Patch: Use the hole's measurements to cut a patch slightly bigger for a tight fit.
- Butter it Up: Lightly coat the patch's back with a jointing paste, cramming it into the hole. Smooth it with a scraper to remove spare paste.
- Smooth Operator: Once dry, buff the spot to perfection using medium-grit sandpaper. It removes spare paste for a flat finish.
- Layer up as needed: Examine the spot. Add more paste coats, letting each dry and sanding again if necessary. Aim for a seamless blend.
- Paint Away: If flat and even, it's time to paint! Use a brush or roller to add a matching colour. For perfection, add a second coat post-drying.
- Add Some Strength (Optional): For hefty repairs, or deep gaps, drywall screws can provide added strength.
- Back it Up (Optional): Consider extra reinforcement with drywall tape if repairs are near a seam or joint.
Reminder: Ensure good ventilation when using jointing paste. A dust mask is essential while sanding. Thin paste layers work best! Too much paste is hard to smooth. Make sure it's dry before painting to avoid paint issues. For bigger or intricate repairs, it's okay to ask a pro.
6. Check for Rust and Dents
Metal access panels in your UAE home are like silent partners, hiding important stuff. Yet, time can take a toll. Here's a guideline to trace and tackle minor rust and dent issues:
- Rust Hunt: Be the Hawk. First, check your panel. Look for reddish-brown patches or chipping paint – rust always gives.
- Nail Test: Scratch easily with your nail. Are rusty particles falling off? Time to act.
- Pushing Rust Out: Sandpaper Runoff. Lightly sand the rusty area with fine-grit sandpaper to eliminate flaky rust and even the area.
- Secret of Spray: Get your panel's matching metal spray paint and apply a quick spray on the sanded area. It will cover any stubborn rust and keep your panel neat.
- Dents Assessment: Where are the dents? Give your panel a thorough look. Check for areas that appear indented or deformed.
- Dent Fix: Does it need a sandpaper touch? Minor dents can be managed using fine grit sandpaper to make the surface smoother and remove loose metal particles.
- Filling Holes: Use metal body filler as per the provided guidelines. Let it dry. Post-drying, sand it down again for a neat and flat blend with the rest of the panel.
- Paint Master: Top it off with matching metal spray paint to maintain consistency in the finish.
- Bowing Inspection: Audit the panel. Check out for any unevenness or bulging. Try looking for spaces that have lost their flatness.
- Straightening a Bowed Panel: Feel good to self-repair? Offer extra support to the out-of-shape area by fastening it with screws or rivets to the adjacent metal.
- Shape the Panel: Flatten the area by using a metal shaping tool or hammer and anvil (safe handling is necessary!).
- Sandpaper Touch: After reshaping, fine-grit sandpaper to smooth out and blend it with the adjoining metal area.
- Paint Sealed: In the end, apply matching metal spray paint to keep the panel appearance unified.
Quick Note: Timely check-ups and instant fixes can prevent trivial issues from getting severe and add years to your metal access panels. For severe warping or difficult repairs, seek professional advice.
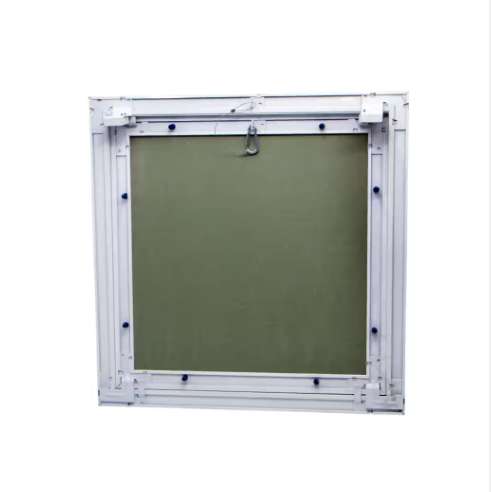
7. Keeping your access panels secure
Securing your access panel is crucial for its functionality and longevity. Here's how to ensure your panels stay put, depending on your wall or ceiling type:
- Plasterboard/Drywall? Screws Are Your Best Friend: For drywall or plasterboard walls, rely on metal screws for a strong, secure hold.
These screws should be long enough to penetrate the drywall and grip the wall framing behind it, typically around 1-1/4" to 1-1/2" long.
Remember to pre-drill pilot holes to prevent cracks in your drywall! - Concrete, Brick, or Block Masonry? Anchors Are the Answer: For tougher walls like concrete or brick, masonry anchors or dowels are the way to go.
Expansion anchors, sleeve anchors, or long masonry dowels are inserted into pre-drilled holes and then used to secure the panel.
Choosing the right size and type of anchor is important, so consider consulting a professional for guidance.
Remember: Properly secured panels prevent sagging, detachment, and damage over time. You can keep your access panels safe and sound by using the right fasteners and installation methods.
8. Seal Edges:
Sealing the edges of your access panels is vital for keeping them in top shape, especially in the UAE climate. Here's why sealing is important and how to do it like a pro:
Why Seal?
Think of unsealed edges like tiny open doors for air leaks, dust bunnies, and moisture. It can lead to:
- Energy Waste: Leaky edges can make your HVAC system work harder, costing you money.
- Eyesores: Unsealed edges look unfinished and can detract from the overall look of your space.
- Panel Damage: Dust, dirt, and moisture sneaking in can damage the panel over time.
Sealing Steps:
Inspect the Crime Scene: First, closely examine the edges of your panel for any gaps between it and the wall/ceiling.
- Cleanup Crew: Before applying any sealant, grab a dry cloth and wipe away any dust or debris from the edges.
- Foam Frenzy: Use a high-quality construction foam, like expanding polyurethane foam, to fill those pesky gaps. Apply a continuous bead to ensure complete coverage.
- Patience is Key: Let the foam work its magic according to the manufacturer's instructions (usually 30-60 minutes).
- Trim the Excess: Once cured, use a sharp utility knife or saw to remove any excess foam that sticks out. Make sure it's flush with the surrounding surface.
- Joint Compound Cover-Up: Apply a thin layer of joint compound over the sealed edges to create a smooth, seamless transition between the panel and the wall/ceiling.
- Sand and Paint Perfection: Once the compound dries, give it a light sanding for a smooth finish. Finally, apply matching paint to blend the sealed edges perfectly with the surrounding area.
FAQs
1. How often should gypsum board access panels be cleaned?
Dust and dirt can build up on your access panels over time, so it's a good idea to give them a quick wipe down with a dry cloth or long duster at least once every two weeks. It will keep them looking their best and prevent any unsightly staining.
2. What can be done to prevent water damage to gypsum board access panels?
Water damage is the enemy of gypsum boards. To keep your panels squeaky, clean and protected, regularly inspect your roof for leaks and address them immediately.
Remember, prevention is key. Additionally, consider using a moisture-resistant gypsum board to defend against water woes in moisture-loving areas like bathrooms and kitchens.
3. How can minor damage to gypsum board access panels be repaired?
A trusty drywall patch kit is your best friend for those little nicks and scratches that come with everyday life.
Fill and smooth out the damaged area with a jointing compound, give it a light sanding for a flawless finish, and then repaint it to match your wall colour.
4. How should deeper holes or damage in gypsum board access panels be addressed?
A little more TLC is required for bigger holes or more serious damage. You'll need to carefully cut back the affected section and replace it with fresh drywall.
Once the new patch is in place, apply the joint compound, sand it smooth, and repaint it to create a seamless look.
5. Why is it important to seal the edges of gypsum board access panels?
Sealing the edges of your access panels with construction foam is a multi-tasking marvel! It acts as a force against air leaks, which can affect your HVAC system's efficiency.
It also creates a smooth, polished look by hiding gaps between the panel and the wall/ceiling.
Sealing also helps remove dust, dirt, and moisture, protecting your panels from unwanted visitors.
Final Words
Gypsum board access panels are valuable in any UAE home, providing easy access to hidden utilities and systems. By following these eight tips, you can ensure your access panels stay functional, aesthetically pleasing, and protected from the unique challenges of the UAE climate.
Always buy the best quality Gypsum board access panels from FEPY, the leading e-commerce store for construction materials and tools in the UAE. You will get the best products at the best price. Moreover, if you are a FEPY PRO member, you will get additional discounts, faster delivery, and priority customer support.
So, take charge of your access panels and enjoy the benefits of convenient access with long-lasting functionality!


