How to Apply Tile Grout: Step-by-Step Instructions

Grout is the material that fills between tiles. It's not just a gap filler. It strengthens your tile job, blocks water, and improves the aesthetics of the tiled area. The art of tile grouting is precious knowledge for a professional. This comprehensive guide discusses why grout matters, the necessary tools and materials, and how to apply tile grout.
Why Grout Matters?
Grout is not merely a filler for tile gaps. Grout boosts the sturdiness of your tile placement, bars water from infiltrating behind the tiles, and even enhances the overall appearance of your tiled area. Also, a perfectly done job could make your project seem extremely professional.
What You'll Need?
Alright, let's start from the beginning. We're going to need some supplies:
- Grout (unsanded for narrow joints, sanded for wider ones)
- Bucket for mixing
- Grout float
- Sponges (regular and dry)
- Clean water
- Rubber gloves
- Safety goggles
- Dust mask
- Painter's tape
- Grout sealer (optional)
How to Apply Tile Grout: 8-Step Instructions
All set? Awesome! It's time to roll up your sleeves and jump into the grout work. We've simplified things into eight easy steps. Be it your first attempt or a refresher, these steps will lead you through every part of the grout application. Go at your own pace and follow each step carefully:
Step 1: Prepare the Tile Joints
See this as the base of your grouting task. A house's foundation should be solid, the grout must be cleaned, and joints must be formed. Begin by removing any tile spacers you previously used. This tiny plastic piece has served its purpose.
Then, use a vacuum or brush to clear any rubble between the tiles. Surprisingly, dust and crud can gather, even right after tiling!
Now, check the joints. Notice any leftover adhesive or mortar sticking out? Take a utility knife or a small chisel and scrape it off. The grout needs to be tidy, even joints.
If your work area is a bathroom or kitchen, use painter's tape to protect fixtures, cabinets, or other places prone to accidental grouting. This careful measure will save you extra work.
Step 2: Mix the Grout

It's time to put on your gloves. Creating grout is somewhat like fixing up some pancake mix, except it's not as appetising and has a rougher texture.
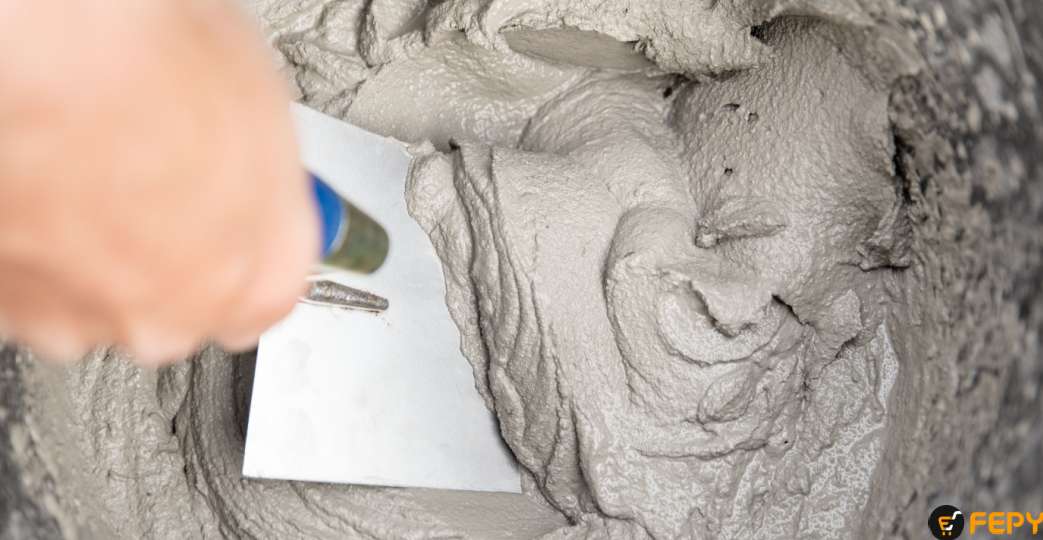
First, put your grout powder into a clean bucket. Gradually pour in water, adhering to the manufacturer's guidelines. Different companies might require slightly varied quantities, so this step is crucial. Stir using a trowel and rotate the bucket to ensure an even mixture. You're targeting a silky peanut butter-like consistency—easy to spread but not too liquid.
Once the mixture feels right, leave the grout untouched for 5-10 minutes. This waiting step, slaking, allows the grout's chemical components to kick in fully.
Step 3: Apply the Grout

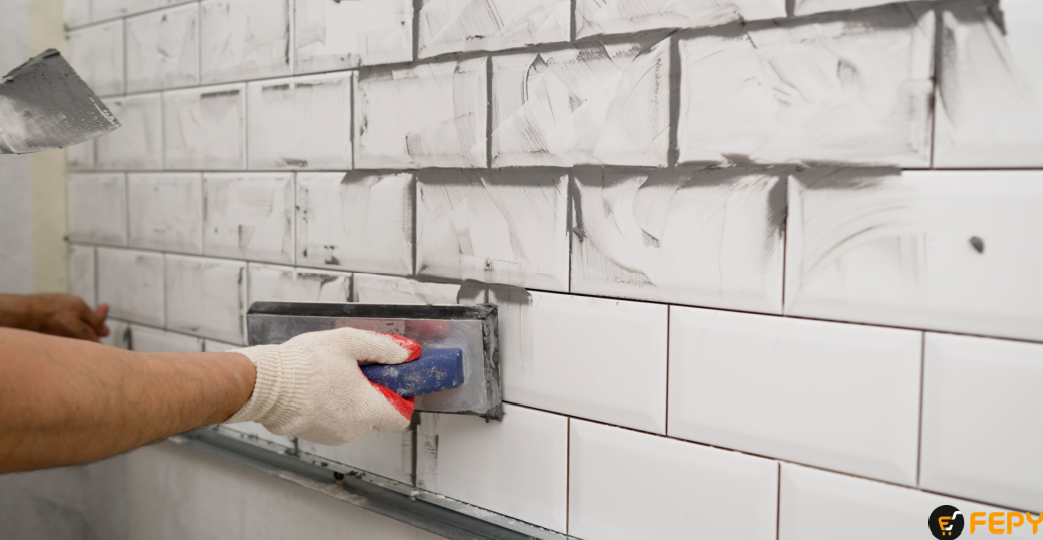
It's time to start the actual work. Take your grout float and load it with some rough mixture. Hold the float to the tile at a roughly 45-degree slant and push the grout into the cracks.
Tackle small parts at a time, going corner to corner across the tiles to stuff every crevice. You'll see leftover grout piling up on the tile face. That's not a problem – we'll tackle that in the next step.
Just keep filling each gap thoroughly. Grout firms up quite fast, so work consistently but without haste.
If the area you're grouting is large, making smaller grout batches might be a good idea to ensure none of it dries out before you use it all.
Step 4: Remove Excess Grout
After stuffing all the spaces between tiles, it's clean-up time. Don't rush - step far from the wet sponge! We must first deal with any leftover grout.
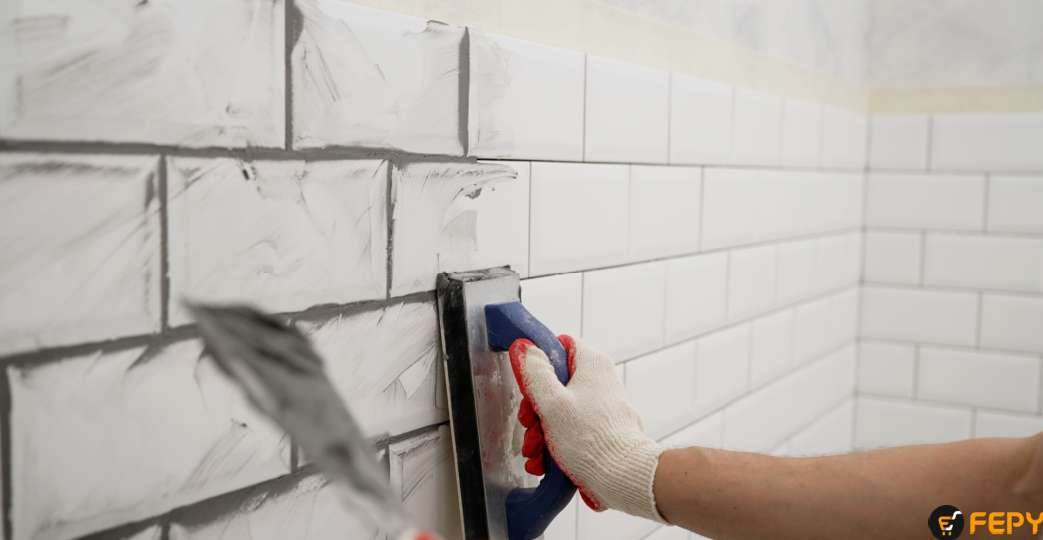
Grab your grout tool or rubber scraper and angle it 45 degrees to the tile. Sweep it across the tiles at an angle. This will get rid of extra grout without touching fresh-filled spaces.
If some places are challenging, try a dry sponge. The aim is to remove much of the extra before adding any water.
Step 5: Clean the Tile Surface

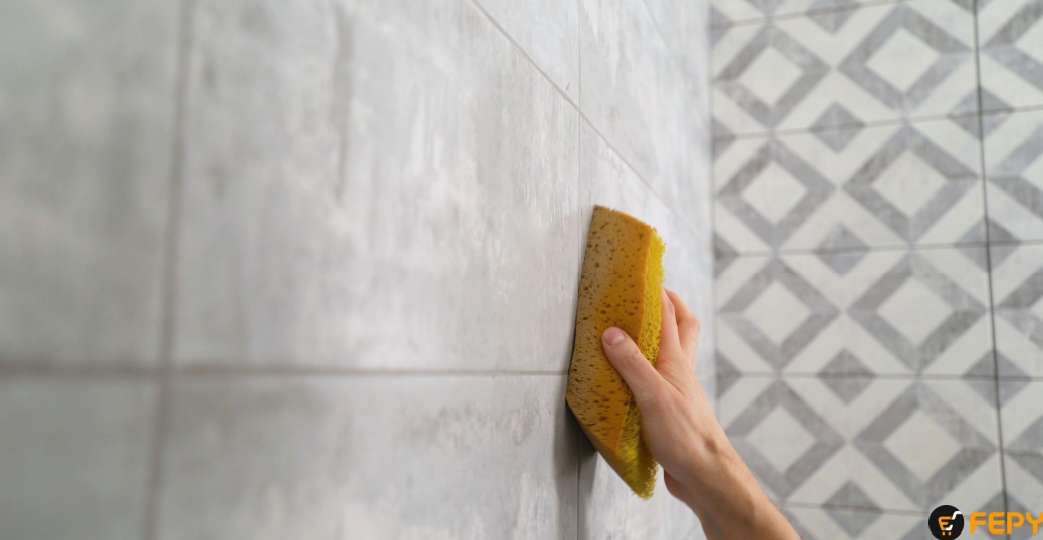
Now, it's time for the sponge! But here's the trick—your sponge needs to be damp, not dripping. Too much water might cause the grout to become weak, leading to issues in the future.
Ensure your sponge is only slightly wet, then lightly clean the tiles roundly. It helps remove leftover grout smudge and even out joint spaces.
Rinse your sponge often and switch out the water once it gets murky.
Stick to small areas at a time and only push a little—you don't want to pull out the grout from the freshly filled joints unintentionally.
This step needs patience, but it's worth the measured pace to do it right.
Step 6: Remove the Haze
Your tiles are likely good-looking now, though hazy. It's okay—it happens, and it's no big deal—it can be fixed.
Give your grout 20-30 minutes to dry. Then, use a clean, wet sponge to wipe your tiles down. This will remove any leftover haze, leaving your tiles shining just as you want.
Remember to rinse your sponge often and only with clean water. If the tiles still look hazy, cleaning them a few more times is okay, but be mindful not to soak the new grout too much.
Step 7: Let It Cure
Great job applying the grout! Yet there's more to be done. Grout must completely harden before it's durable.
Many grouts take 24-48 hours to settle and up to 72 hours to harden completely. During this span, stop treading on tiles or making them wet. Remember, patience pays off.
Step 8: Seal the Grout (Optional)
After your grout is fully set, as suggested by the manufacturer's guide for specific times, consider using a grout sealer. It's unnecessary but could shield your grout from marks and aid future cleaning.
If you opt to seal, follow the manufacturer's instructions carefully. Usually, you apply the sealer with a small brush or applicator, leave it for a bit, and then clean off any excess. Some sealers require more than one layer, so read those guides!
Maintenance Tips
Good job. Your tile grouting task is complete! Take a moment to appreciate your work. Seems quite right. To ensure your freshly grouted tiles keep shining, follow these maintenance tips:
- Immediately clean up any spills to avoid stains.
- Stick to a pH-neutral cleaner for routine cleaning – harsh substances can harm grout.
- Think about applying a fresh seal to your grout every 6-12 months for optimal protection.
- If cracks or chips appear in the grout, fix them promptly to avoid water damage.
Final Words
Grouting requires both creativity and precision. If you are doing it for DIY, you will achieve perfection after successfully setting a few tiles. If you are not confident, don't hesitate to seek professional help. Also, always buy genuine quality products from FEPY. Whether it's tile grout or related tools, FEPY has everything for you.
FEPY has emerged as one of the leading e-commerce stores in the UAE. It ensures the best prices and quickest delivery across the UAE. If you are a FEPY PRO member, you will get additional discounts and multiple other benefits. Get dive in and enjoy your tile grouting journey with FEPY.


